The Advanced Price List module from Divigrid provides extensive customization for creating price lists with diverse content types and a highly stylized presentation. With this module, you can display pricing information in an organized, clear, and professional manner, suitable for a wide variety of businesses, from restaurants to service providers. The module allows for the integration of images, icons, text, and call-to-action (CTA) buttons, which can all be customized to suit your website’s needs.
The module is divided into Content and Design tabs, each offering various settings. Let’s break down the module’s functionalities.

Content Tab Customization ( Item )
The Content Tab is where you add and structure the elements of your price list. It allows you to integrate various content types such as images, icons, text, buttons, and lists. This section will guide you through each option available in the Content Tab.
When you open the Advanced Price List module, the first area you’ll interact with is the Content tab. This section is primarily responsible for adding elements like images, icons, text fields, CTA buttons, and lists to your price list.
Price List Content Types
The Advanced Price List module supports multiple content types, each offering unique customization possibilities. The content types available within the module are:

Text Fields (Title, Description, Price)
Title: The main title for each price list item. This could be the name of a product, service, or feature. Set the correct HTML tag (H1-H6) for the title based on its importance for SEO and design hierarchy.
Description: A brief explanation or detail about the product or service.
Price: Displays the price of the item, usually in a larger, bolded font for emphasis.
Image and Icon Integration
In addition to text, the Advanced Price List module allows you to add images or icons next to each item to visually represent the product or service.
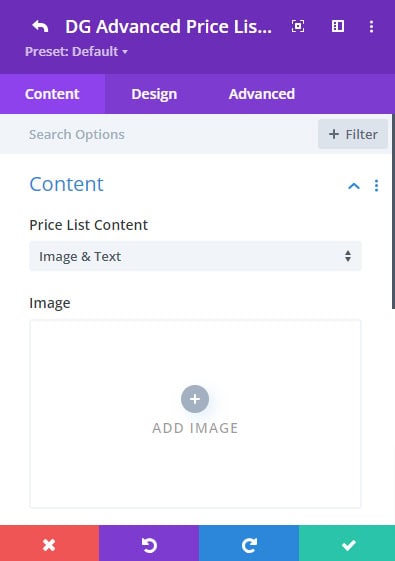
Image: Upload an image to accompany the item.
Icon: If you prefer to use icons instead of images, you can select from Divi’s extensive icon library.
Lists (Ordered and Unordered)
You can add either ordered (numbered) or unordered (bullet point) lists to your price list. This is useful when you need to break down features or services within an item.
Ordered List: Displays a numbered list. Ideal for ranking or sequencing information.
Unordered List: Displays a bullet point list. Use this for unordered features or specifications.
Image and Icon Integration with title
This feature within the Price List module of Divigrid allows users to create attractive and informative price lists by choosing either an image-based list (Image List) or an icon-based list (Icon List). Depending on the selection, different settings will appear, allowing you to customize the list for a variety of use cases, such as menus, product catalogs, or service offerings.
Image List
An Image List allows you to display images alongside each list item, which is particularly useful for visualizing products or services. Once you choose the "Image List" option, several customization fields will appear, allowing you to upload and manage images effectively. Here's a detailed breakdown of the available fields. This field allows you to upload images for each list item. The image could represent a product, service, or any item relevant to the list.
|
|
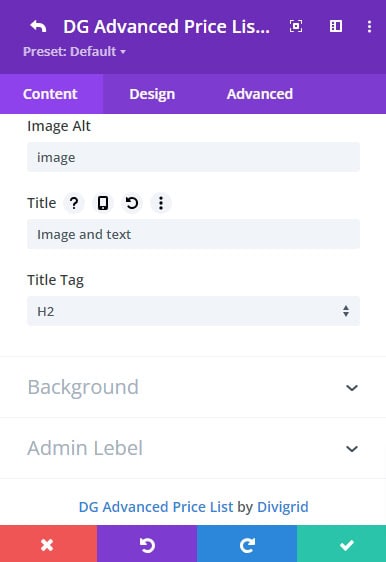 |
The title field allows you to set the title for the price list item. The title typically represents the name of the product or service being listed and the title tag determines the HTML heading level for the title. Available options include H1, H2, H3, H4, H5, and H6. Choosing the appropriate heading level is important for both SEO and ensuring proper content structure.
Icon List
An Icon List replaces the image with an icon, which can be chosen from the Divi Library. This is ideal for services or items where an icon better represents the content. When the "Icon List" option is selected, the module allows you to integrate icons from the Divi Library. This can be useful for more minimalistic designs or when representing items with symbols. Icons are a great way to visually represent services, such as using a fork and knife icon for restaurant menus or a shopping cart icon for e-commerce product lists.
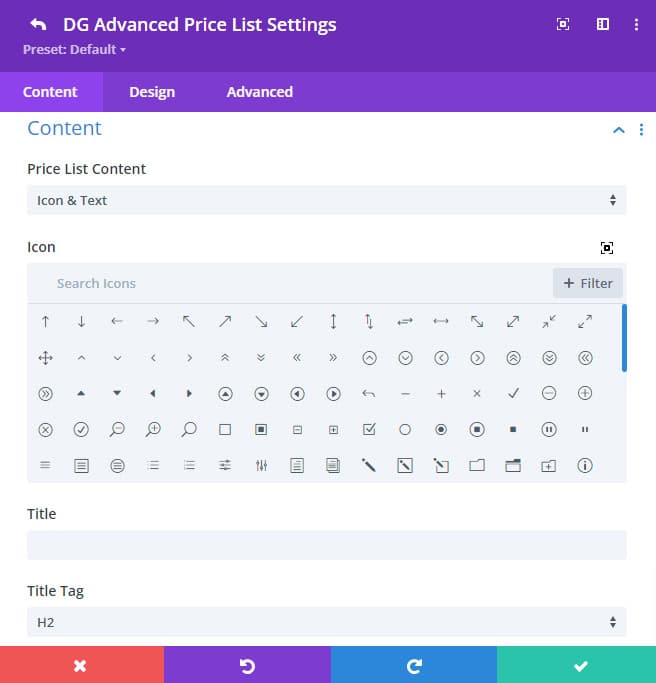
The title field allows you to set the title for the price list item. The title typically represents the name of the product or service being listed and the title tag determines the HTML heading level for the title. Available options include H1, H2, H3, H4, H5, and H6. Choosing the appropriate heading level is important for both SEO and ensuring proper content structure.
Design Tab Customization ( Item )
The Design Tab in the Advanced Price List module offers extensive customization options, allowing you to style every element to create visually appealing and professional-looking price lists. Whether you're adjusting the layout for mobile responsiveness or creating a unique design for your brand, this tab provides everything you need to fine-tune the aesthetics of your price list. The tab is organized into multiple sections that let you control the visual elements of icons, images, typography, buttons, and more.
Icon Settings
Icons can significantly enhance the look of your price list by adding visual cues to your items. The Icon Settings allow for detailed customization of any icons you choose to display alongside your list items. Here’s a breakdown of what each setting offers:
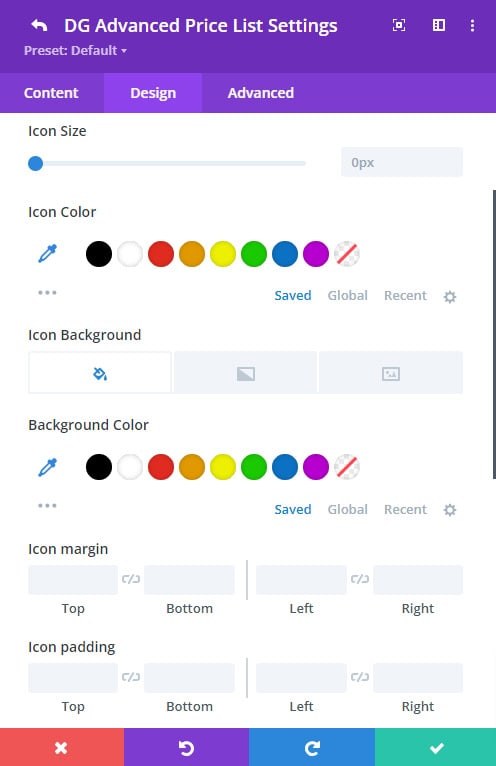
Icon Size: You can adjust the size of the icon to match the text or list items. This ensures that your icons are neither too large nor too small, striking the perfect balance in relation to the text size.
Icon Color: This setting allows you to choose a color for the icon that complements your overall design. You can match the icon color with your brand’s color scheme or pick a contrasting color to make the icon stand out.
Icon Background: Add a background color behind the icon to give it more prominence. You can choose between solid colors, gradients, or even image backgrounds to suit your design needs.
Icon Spacing: Control the spacing between the icon and other elements like text or images. Adjusting the spacing ensures that the icon doesn’t appear too crowded or too far apart from the associated content, maintaining a balanced layout.
Image Settings
Images can add context or visual appeal to your price list. In the Image Settings section, you can manipulate how images are displayed, making sure they fit perfectly with the surrounding content. The settings include:
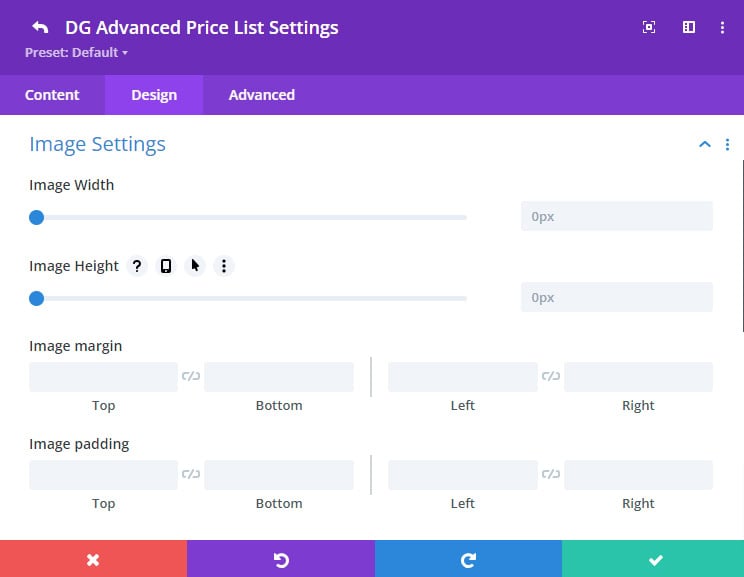
Image Width: This option allows you to set a fixed width for your images. You can ensure that images maintain a uniform size across the list, making the overall layout look more organized.
Image Height: Adjust the height of the image to control its proportions. This is useful for ensuring that images don’t appear stretched or compressed.
Image Spacing: You can define the space between the image and adjacent content like text, icons, or buttons. Proper spacing helps in creating a clean, clutter-free design where the images are visually distinct but well-integrated.
Alignment
Alignment plays a crucial role in how your price list is perceived. Proper alignment ensures that the content is easy to read and aesthetically pleasing. The Alignment section allows you to adjust the alignment for different elements
Font Style
Typography is one of the most important aspects of design. The Font Style section gives you full control over how the text appears, allowing you to craft a cohesive look for your price list. Here’s what you can adjust:
Title Padding: This setting controls the spacing around your title text. By increasing or decreasing the padding, you can ensure that the title has enough breathing room, making it stand out without appearing too detached from the rest of the content.
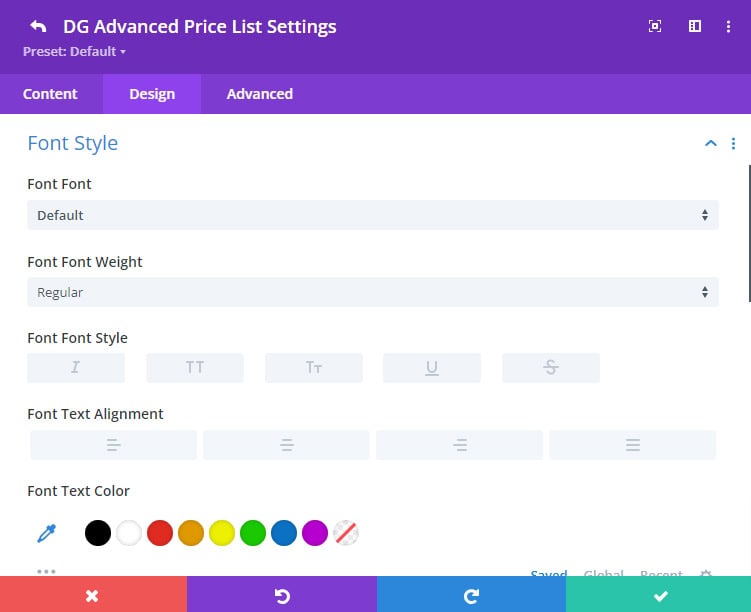
Fonts: Select from Divi’s wide range of available fonts to create a distinct look that aligns with your brand. This customization lets you use a modern, professional, or playful font depending on the tone of your price list.
Font Weight: Control the thickness of the text with font weight options, ranging from light to extra bold. This allows you to emphasize certain elements, such as headers or prices.
Text Alignment: Align the text to the left, center, or right to match the overall alignment of your list items.
Line Height: Adjust the spacing between lines of text. By modifying the line height, you can make your content more readable and improve its overall visual flow.
Letter Spacing: Set the space between individual letters to make the text feel more open or condensed.
Text Shadow & Color: Add a shadow effect to the text for a subtle 3D appearance. You can also choose text colors that complement the rest of your design, ensuring a harmonious color scheme.
Price Font Style
The price is a key component of any price list, and the Price Font Style section offers extensive options for making the price stand out:
Padding: Control the space around the price to ensure it fits perfectly within the layout, without appearing cramped or too spaced out.
Fonts: Choose a custom font for the price to make it stand out. You can select a different font from the rest of the text to highlight the price.
Font Weight: Adjust the font weight to ensure the price is clear and easy to read. You can opt for a bold font to make the price more prominent.
Text Alignment: Align the price to the left, center, or right, depending on your design preferences.
Line Height: Set the spacing between price lines, especially when the price includes both currency symbols and numbers.
Letter Spacing: Adjust the space between letters in the price text for a cleaner or more compact look.
Text Shadow & Color: Apply a shadow effect to the price text for additional emphasis, and choose a text color that helps the price pop out without clashing with other elements.
Order List ( In the Font Style tab )
Order Number Background: Add a background color behind the numbers to make them more distinct. You can choose solid colors, gradient effects, or even background images to create a unique look.
Button Styling
Buttons are a crucial part of a price list, especially when they serve as calls to action (CTAs). The Button Styling section provides a range of customization options for buttons, helping you create interactive elements that align with the overall design. Use Divi’s default button customization options to style the call-to-action buttons. Options include button color, shape, text size, and hover effects.
Advanced Price List Settings Customization ( Global )
The Advanced Price List settings provide global controls for adding and managing list items, as well as customizing badges, headings, and more. These settings allow for deeper customization of the price list as a whole.
Content Tab options
Add New Item
In the Add New Item section, users can add new content to the price list. Each new image item can have its own set of content, images, or icons. This provides a flexible structure for building rich, interactive scroll sections.
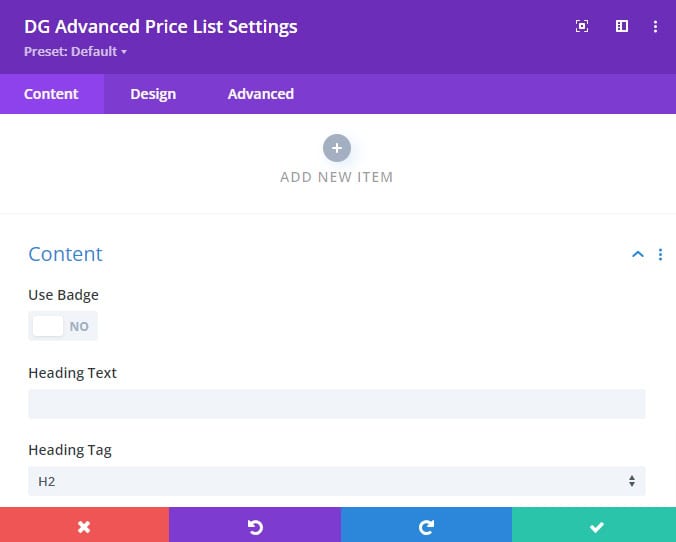
Use Badge Switch
By enabling the Badge Switch, you can show a badge over the price list item. This is useful for highlighting promotions or special offers.
Heading Text & Heading Tag
You can add a heading above the price list. This is especially useful for creating category headings or sections in a larger list. the header tag determines the HTML heading level for the title. Available options include H1, H2, H3, H4, H5, and H6. Choosing the appropriate heading level is important for both SEO and ensuring proper content structure.
Design Tab Customization
The Design tab under Advanced Settings offers global styling options for headings, badges, and list items.
Alignment
As with individual items, you can globally align all price list elements to the left, center, or right.
Font Style for Heading & Title
This setting allows you to style the headings and titles. Each has independent styling options.
- Fonts
- Font Weight
- Text Alignment
- Line Height
- Letter Spacing
- Text Shadow & Color
Here are other extra header customization options to style the header:
- Header Spacing: Adjust the space above or below the header.
- Header Background: Add a background color, gradient, or image to the header.
-
Header Background Color: You can set a solid color for the Header. This is especially useful for images where you want to dim or highlight certain areas to make text more legible. The color opacity can also be adjusted to fine-tune the visibility of the underlying image.
-
Header Background Gradient Color: Similar to the badge, you can apply a gradient to the Header for a more sophisticated look. The gradient can include a primary and secondary color, and you can adjust the gradient direction to match the design.
-
Header Background Image: For a more creative header, you can use an image. This feature allows you to layer an image over your price list, providing extra texture or thematic elements to enhance the design. The background image can be adjusted for size and position to ensure it fits perfectly within the header area.
-
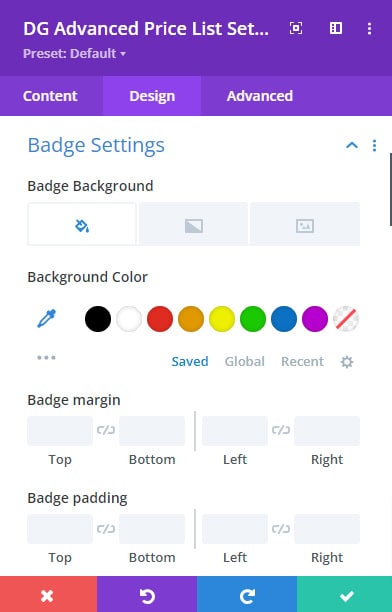
Badge Settings
Badge Position: Badges are typically used for special promotions or best-selling items, and placement can make these more noticeable..Choose from 10+ different positions to place the badge, like top-left, top-right, or center.
Badge Rotation: Add a rotating effect to the badge for an extra visual appeal.
Badge Background: Set the badge’s background to a solid color, gradient, or image for enhanced styling.
 |
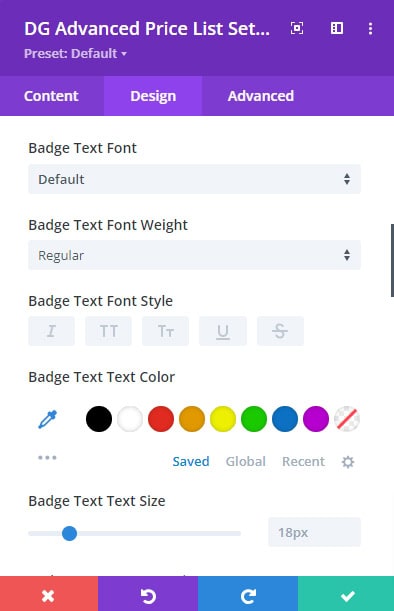 |
Badge Font styles: The Badge Font Styles section gives you the tools to customize the appearance of the badge text. You can control every aspect of the text, from font family to color and shadow effects, to make sure the badge fits your website’s overall design language. Here’s what you can customize:
- Font
- Font Weight ( Bold, medium, etc )
- Font Style ( Italic, underlined, etc )
- Alignment ( left, center, right )
- Font Color
- Line Height
- Letter Spacing
- Text Shadow
Badge Spacing: Control the padding and margin around the badge to ensure it doesn’t overlap other content.
Badge Border & Box Shadow: Apply borders and shadows to define the badge further.
Order List Settings
The Order List Settings offer customization options specifically for numbered or ordered lists. Numbered lists are ideal for step-by-step guides, rankings, or sequential product listings, and these settings allow you to control their visual style. You can modify various aspects to ensure the numbered list fits seamlessly with the overall design of your price list. Here’s what you can adjust
- Order Number Background
- Spacing
- Border Styles
- Box Shadow Effects
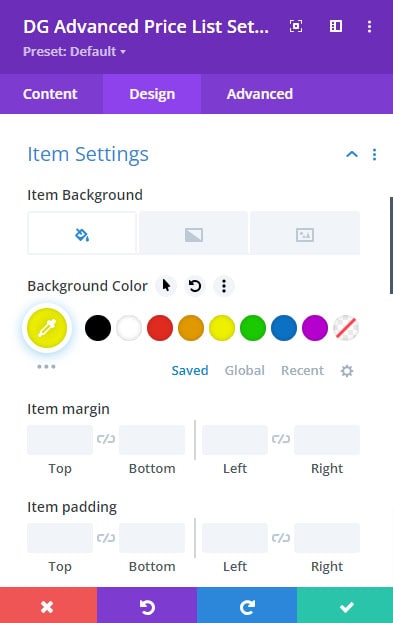
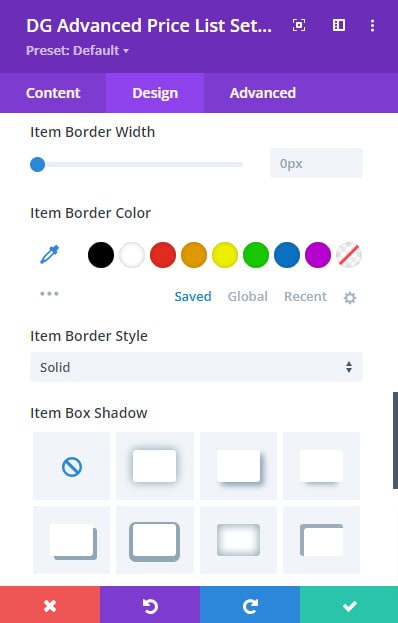
Item Settings
Each individual item in your price list can be fully customized to stand out or blend seamlessly with the list’s overall design. The Item Settings section provides powerful tools to ensure that each item has a unique look while still maintaining a cohesive design. Here are the key customization options for each list item:
 |
 |
- Background:
You can set a background for each price list item, choosing between solid colors, gradients, or even images. This allows for great flexibility in design. For example:
- Solid Color: Set a uniform background color for a clean and consistent look.
- Gradient: Apply a gradient to create a more dynamic and visually appealing background.
- Image Background: Use an image as the background to add texture or visual context related to the product or service listed.
- Spacing
- Border styles
- Box Shadow
The Advanced Price List module is a highly versatile tool for creating detailed, professional price lists that stand out. Whether you are adding icons, images, text, or call-to-action buttons, this module provides all the design flexibility you need.
By following this documentation, you can fully customize every aspect of your price list—from individual items to global settings—ensuring your price list meets your design and functionality goals.
For any further questions, refer to the FAQs or consult additional resources provided by Divigrid.
Frequently Asked Questions (FAQs)
Q. What is the Advanced Price List module, and how does it benefit my website?
The Advanced Price List module is a versatile tool designed to create customizable and visually appealing price lists for various products and services. It benefits businesses by allowing them to display prices, descriptions, images, and CTA buttons in an organized, user-friendly format.
Q. What types of businesses can benefit from the Advanced Price List module?
This module is suitable for a wide range of businesses, including restaurants, e-commerce, service providers, and more.
Q. What content types can I add to my price list?
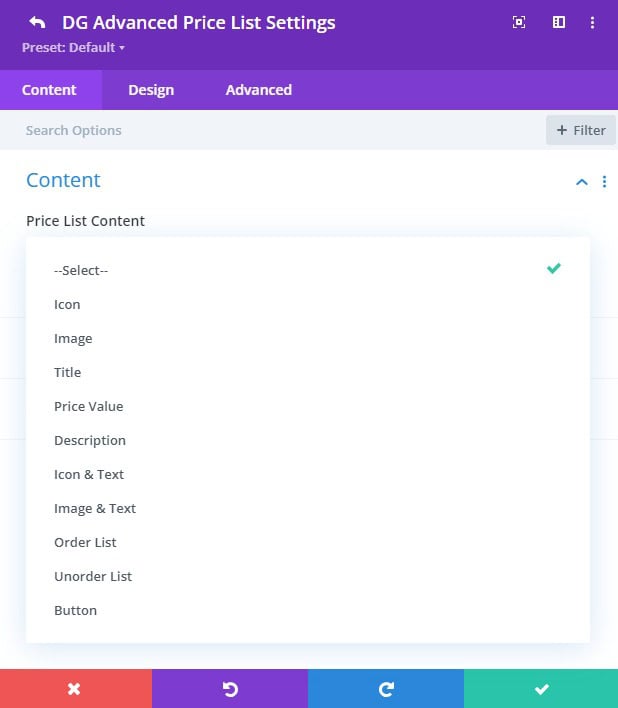
You can add text fields (title, description, and price), images, icons, lists (ordered and unordered), image & text, icon & text, and call-to-action (CTA) buttons.
Q. What is the difference between an Image List and an Icon List?
An Image List displays images alongside each item, while an Icon List displays icons. Both options have their own unique customization settings.
Q. Can I add badges to the price list?
Yes, you can add badges to highlight special items, promotions, or bestsellers. Badges can be customized in terms of position, rotation, background, and font style.
Q. Can I globally customize the price list?
Yes, the Advanced Price List settings offer global controls for customizing elements such as headings, badges, and list items across the entire price list.
Q. Can I add images and icons to the price list?
Yes, the module allows you to add both images and icons to each price list item. You can customize the size, alignment, and style of these elements to enhance visual appeal.
Q. What responsive design options are available for mobile and tablet views?
The Advanced Price List module includes responsive design controls, allowing you to customize how the price list appears on mobile, tablet, and desktop devices for a seamless user experience.
Q. How can I ensure my price list is SEO-friendly?
By using proper HTML heading tags (H1-H6) for titles and descriptions, along with optimized text and image alt tags, your price list can be made SEO-friendly, improving search engine visibility.
Q. Is it possible to apply a background image to each individual price list item?
Yes, you can apply unique background images to individual list items through the Background Image Settings for a more dynamic and personalized presentation.
Q. Can I add multiple CTA buttons to a single price list item?
While the default setting allows for one CTA button per item, you can duplicate the button element and customize it for additional links or actions.
Q. Is it possible to use different background colors for each price list item?
Yes, you can assign different background colors or gradient settings to individual price list items, creating a dynamic and visually appealing layout.
Q. Is it possible to display different fonts for the title and price?
Yes, the module allows you to choose different fonts for titles and prices, giving you greater control over the design and visual hierarchy.